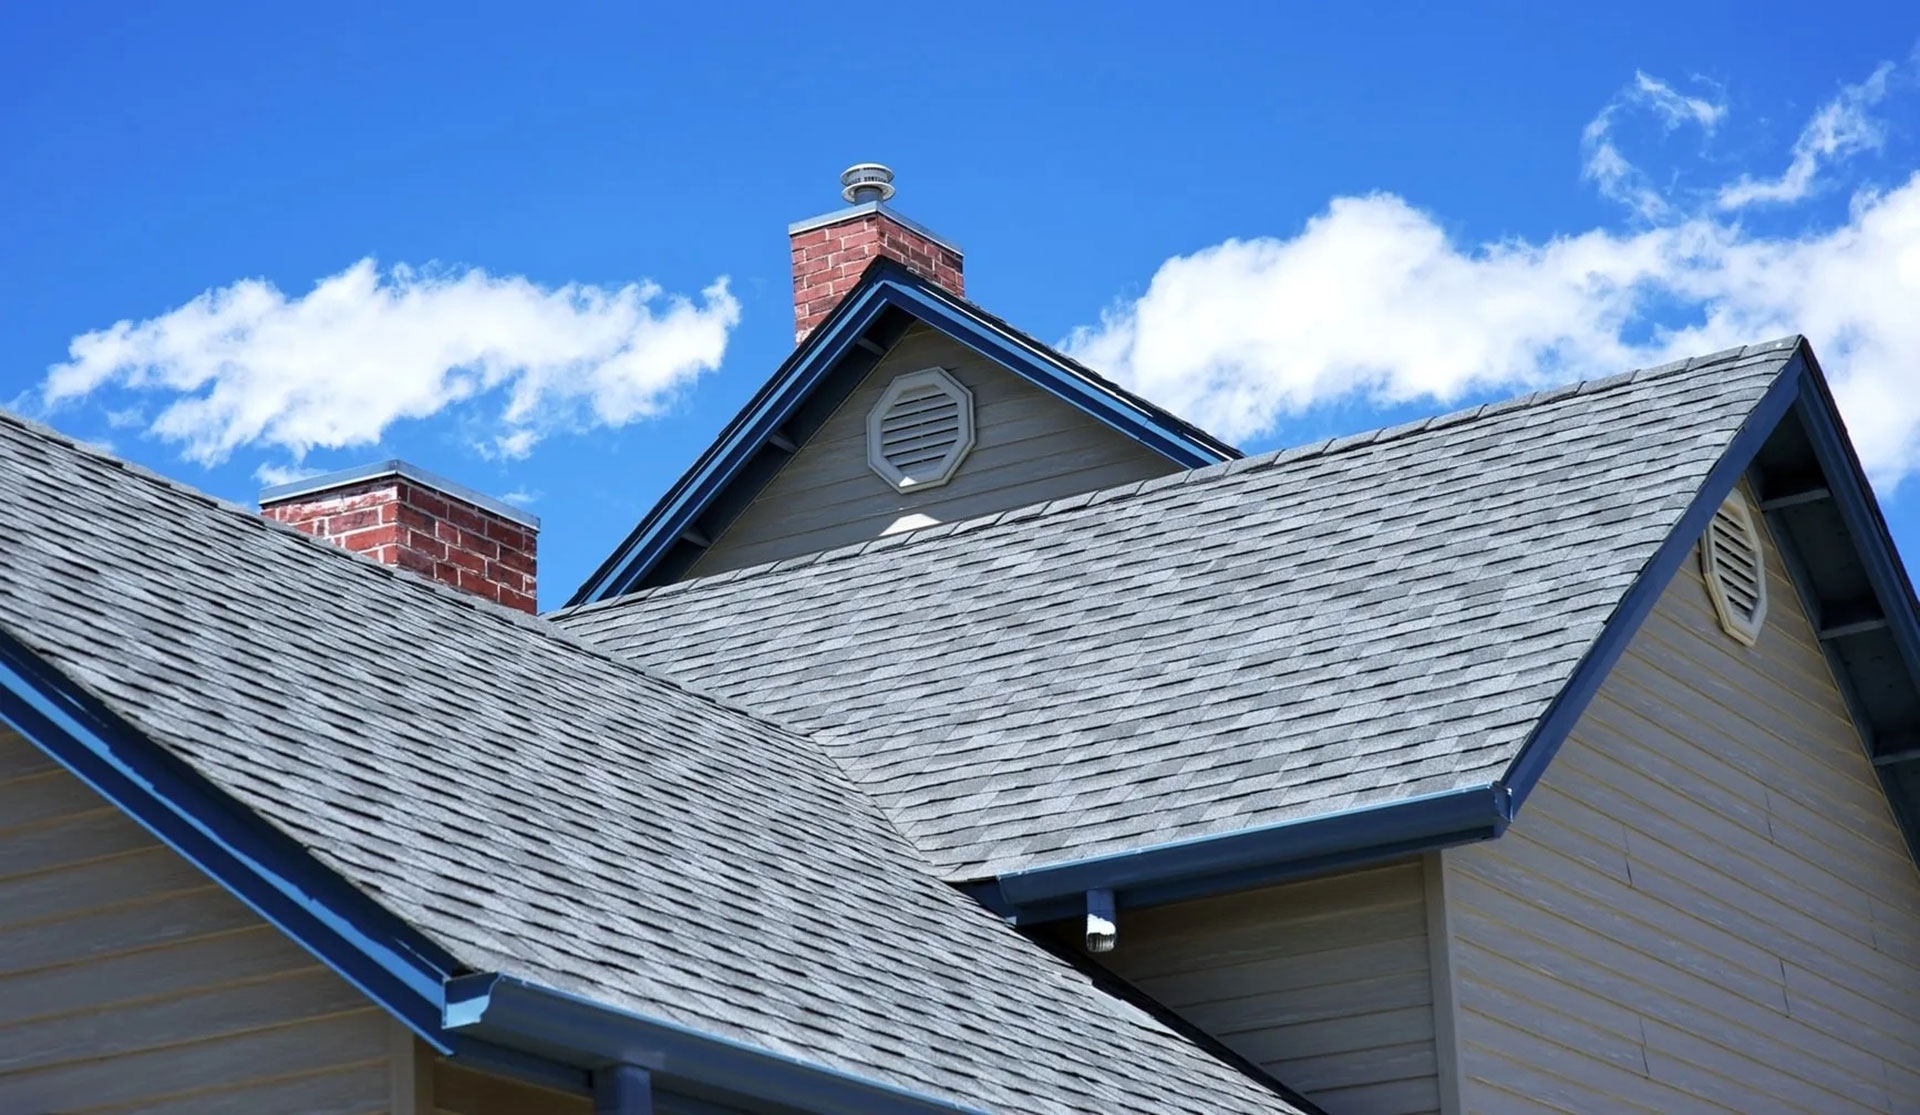
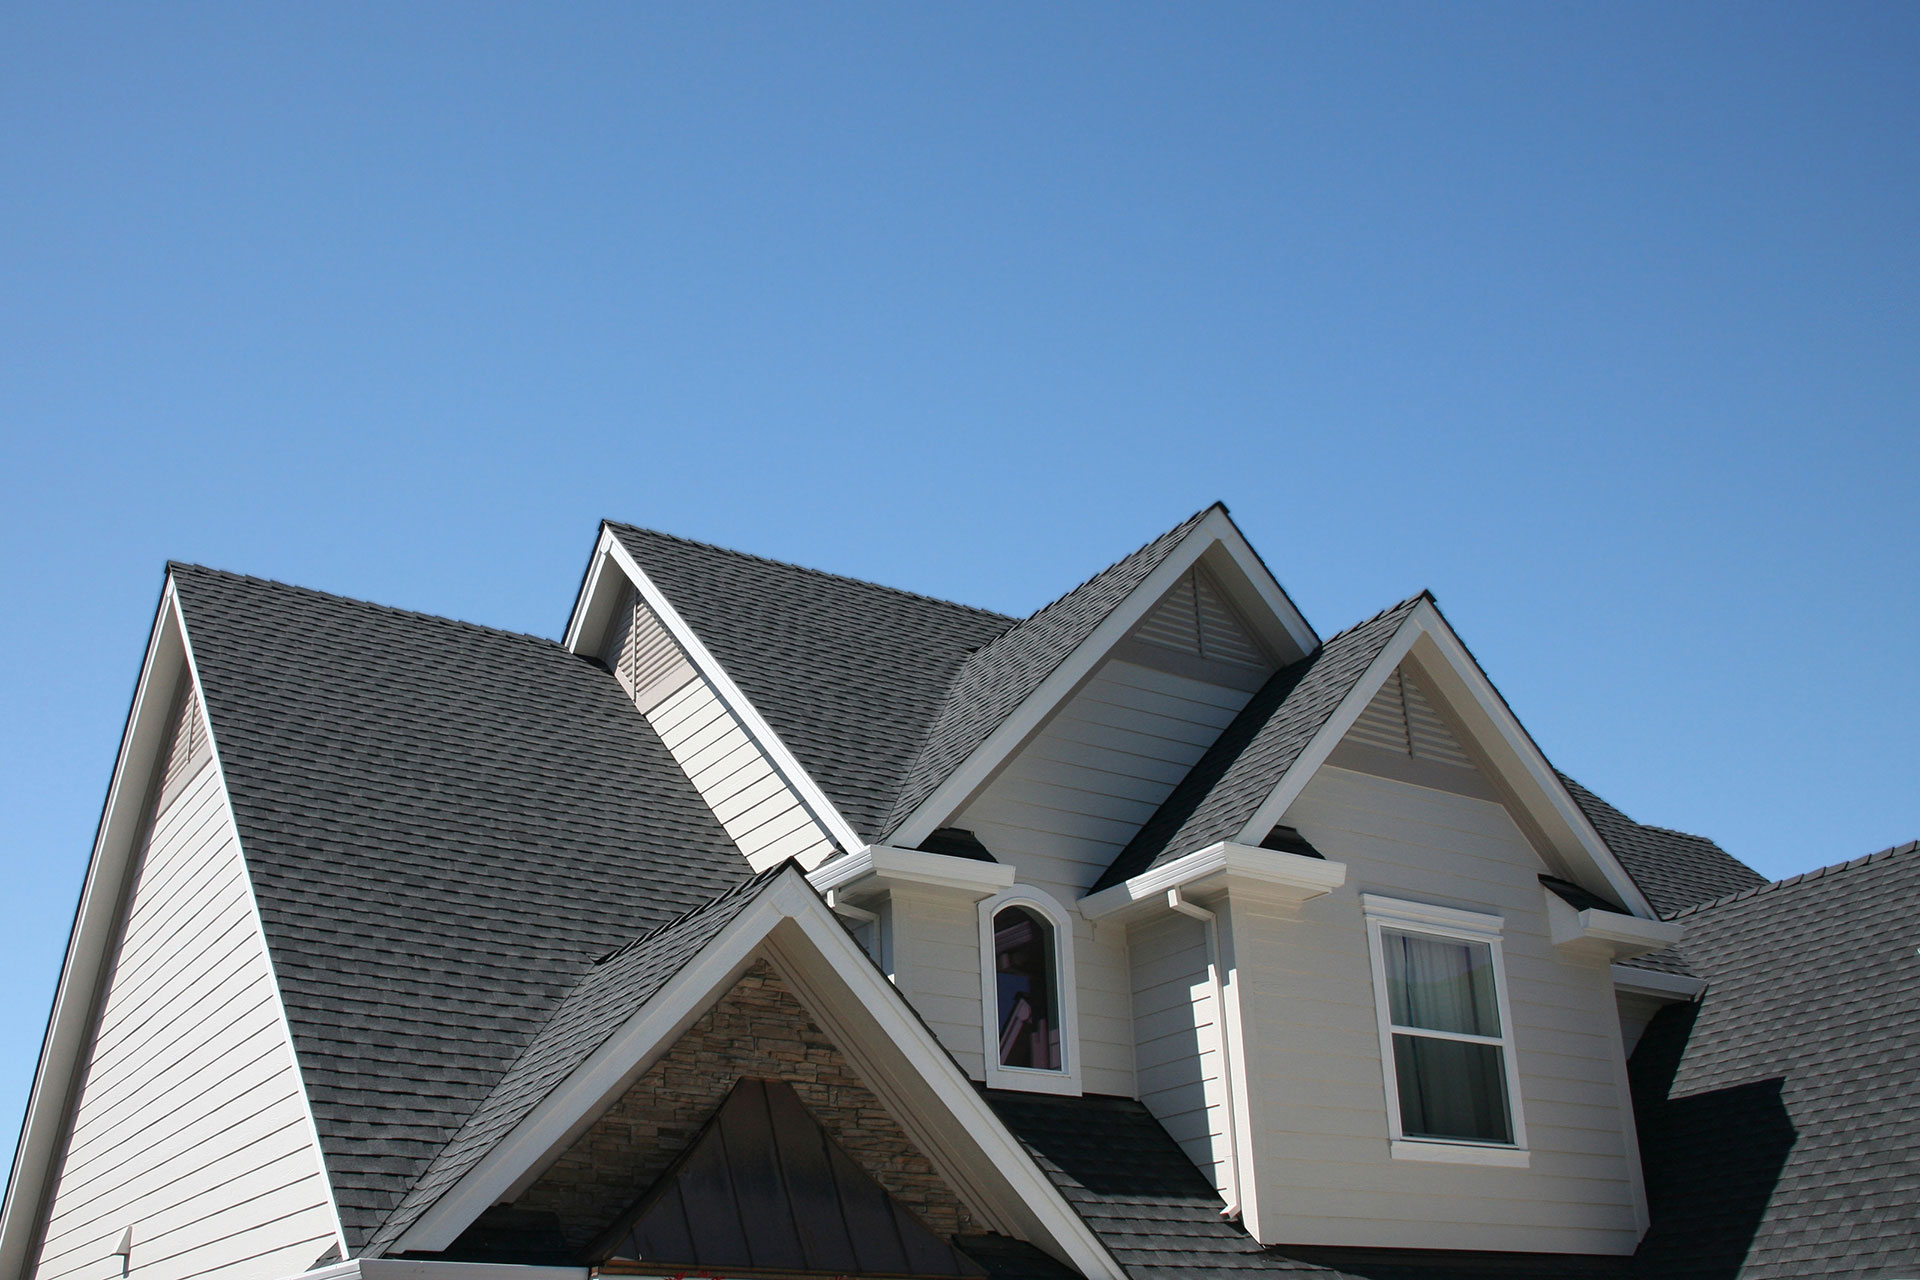
Dwight & Sons, Inc Roofing

Roofing 101

When installing roofs, talking shortcuts can you cost hundreds or thousands of dollars in future repairs / replacement. To avoid this from happening, we have listed several crucial steps below which should be followed whether you are hiring a contractor or doing the work yourself.

Preparation

Prior to doing any repairs/replacement to your roof, there are several crucial steps you should take: 

  • Inspect your existing roof for problem signs. This will not only give you a good indication of what needs to be fixed, but also will suggest to you where you may have to take steps to alleviate the same problems in the future. A good example of this would be if you have a relatively new roof, yet the heavy winds in your location have prematurely destroyed your shingles. A detailed list on how to spot problem signs is available by clicking here.
  • Make a list of things that you don’t like about your current roofing system. If you’re not happy with your current roofing system, then why settle for installing the same thing? Do you live in a ‘heavy snow area’ and are tired of frequently having to shovel your roof? Problems such as this should be discussed with a qualified roofing specialist, prior to investing in your new roofing system. The specialist will advise you on a wide variety of options to alleviate your current problems.
  • Contemplate your future plans and needs. Are you planning to sell your home/business within a few years? If so, would the money invested in the installation of a premium roofing system be returned through equity, or would you be better off installing something that is more economical? Are you planning on using the home as a retirement or rental home? If so, you may want to consider a system which is not only long lasting, but is also maintenance free.
  • Do your homework. You would be well advised to educate yourself on the pros and cons of each of the different types of roofing material that are currently available. As most roofing types come in a wide variety of styles and colors, contact your contractor to see his samples or go to the manufacturer’s website and see which style would best complement your home or office. If you are planning on hiring a contractor to do the work, make sure that you know how to hire the right one for your project.

Cutting Corners On Secondary Materials 

“Ok… So I found a good contractor, I ordered the ‘deluxe-super-heavy-duty’ shingles and set up an installation date… So I’m all set, right?”
Well… not really. What about the other work that needs addressing? Is the roofer also going to fix that deteriorated flashing around your chimney or are you going to have to pay someone a much higher rate to fix it next year when the roof begins to leak? If he is going to fix it, is he going to use quality flashing or something from the ‘clearance bin’?

Cutting corners on secondary materials such as flashing, can also cost you in the long run. Sometimes contractors who offer extremely low bids will cut their costs by scrimping on these items. As the recipient of their services, do not hesitate to ask about these items as well.


The 5 Step Process

“So everything is finally taken care of and I am ready to install my new roof. How many steps are actually involved in the process?”

GAF, a manufacturer of quality shingles, suggests using a five step process in the installation of new roofs. Although the following describes a shingle application, many roofing specialists follow this method for most other types of roofing as well. This assures that home/business owner may avoid potential problems down the road.

Step 1: A quality leak barrier creates a 100% watertight seal that keeps water out at the most vulnerable areas of your roof (at the eaves and rakes, in valleys, around chimneys, etc.). This protects your home by preventing costly repairs due to wall or ceiling staining. It also prevents leaks due to water damming in your gutters or wind-driven rain.

Step 2: Quality roof deck protection, often referred to as tar paper or felt, prevents wind-driven rain from infiltrating under your shingles and causing damage to your roof structure or the inside of your home, by providing an extra layer of protection between your shingles and your roof deck. It also helps reduce shingle blow-off by allowing your shingles to lay flat and uniform.

Step 3: Quality shingles are the key to any good roof. Using a lesser grade product or cutting corners here will often prove to be costly in future repairs.

Step 4: Proper attic ventilation allows a continuous flow of outside air through the attic, protecting the efficiency of the attic insulation and helping to lower temperatures in the summer. It also prevents mildew growth, warping of wood framing, damage to siding, damage to interior / exterior paint and premature aging of your roofing system. For more details on this, we recommend going to GAF’s website, where they explain this in full detail.

Step 5: Ridge cap shingles are the “final touch” that not only beautify, but also protect the most “high stress” areas of your roofing system, the hips and ridges.

Free consultation

When contemplating a renovation, any contractor can come out and give you an estimate for the price. When you call Dwight & Sons, you get more than a price quote. We provide you with a free consultation where we discuss your reasons for the renovation, your budget, your current needs and future goals. Based upon the information provided, we develop a cost effective solution that works for you, while maximizing your property investment. If you would prefer to do this online, check out our Roofing Renovator Estimator.

Social media


Hours

MONDAY 8:30 A.M - 4:30 P.M
TUESDAY 8:30 A.M - 4:30 P.M
WEDNESDAY 8:30 A.M - 4:30 P.M
THURSDAY 8:30 A.M - 4:30 P.M
FRIDAY 8:30 A.M - 4:30 P.M
SATURDAY 8:30 A.M - 4:30 P.M
SUNDAY 8:30 A.M - 4:30 P.M